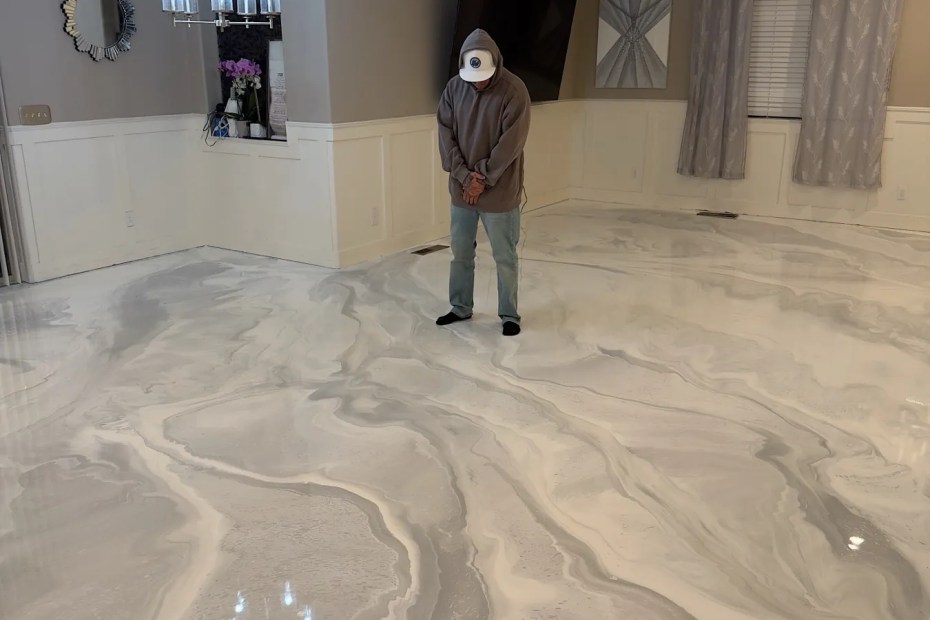
DIY vs Professional Epoxy: What You Need to Know
The internet is full of epoxy tutorials that make the job look simple. Some of it is. A lot of it is not. Johnny has been called out to fix more DIY failures than he can count, and in almost every case the problem was missing equipment or skipped prep, not effort. Here is the honest line on what you can do and where a pro pays off.
The internet is full of DIY epoxy tutorials that make the whole thing look straightforward. Grind a little, mix two parts, roll it on, throw some flakes, done. Some of that is honest. A lot of it skips the steps that actually decide whether the floor holds. Gold Coast Resin has been called out to fix more DIY failures than Johnny can count, and in nearly every single case the problem was not the homeowner’s effort. It was missing specialized equipment or a prep step that got overlooked.
This is not a sales pitch to talk you out of every project. There is real DIY territory in floor coating, and there is territory where a kit is going to cost you more than a pro would have. Here is an honest breakdown so you can tell which is which before you spend a dime.
What You Can Reasonably Do Yourself
Plenty of small jobs are fair DIY projects if you have time and you pay attention to detail. Touching up a small chip, basic cleaning and upkeep on an existing coated floor, sealing a tiny patch, these are reasonable to handle on your own. The stakes are low, the area is small, and a mistake is easy to redo.
A full floor installation is a different animal. The size of the area, the equipment it takes, and the timing the materials demand are all beyond what most home setups can handle. The difference between a touch-up and a full install comes down to whether a single timing mistake can ruin the whole thing.
What You Cannot Fake
A few things separate a durable install from a short-lived one, and they are exactly the things a kit cannot give you.
- A professional diamond grinder. Real surface prep means grinding the concrete to open it up and create a bond profile. A rented grinder helps, but knowing how to use it across an entire floor, including edges and corners, is its own skill.
- Moisture testing. A pro tests the slab for moisture before anything goes down. Moisture vapor coming up through untested concrete is one of the most common reasons a coating fails, and you cannot eyeball it.
- Working within the cure window. Epoxy and polyaspartic have a narrow window where they have to be rolled and worked before they set. Professionals roll coats inside that window every time. In a DIY job, a timing mistake here is often catastrophic, because once the material starts to set there is no going back.
Even with the right rental equipment, the timing is what gets people. The cure windows are short, and missing one means a ruined coat that has to be ground off and started over. That is the trap in DIY epoxy. It is not hard to start, it is hard to finish clean.
The Real Math on a DIY Kit
Big-box kits look affordable on the shelf, and that shelf price is the most misleading number in the whole project. Once you add tool rental, prep supplies, the flakes and topcoat, and your own time across a weekend or two, the savings get thin fast.
Then there is the part nobody factors in until it happens. If the install fails, you are not back to zero. You are behind, because now the failed coating has to be removed before a new one can go down, and removal is harder and messier than starting on bare concrete. When you add the cost of a failed kit plus the redo, DIY routinely ends up costing more than hiring a pro would have in the first place. Johnny has seen enough of these to know the math rarely favors the homeowner on a full install.
The Failure Modes Johnny Sees Most
After enough callouts, the failed DIY floors start to look the same. Five problems show up over and over, and every one of them traces back to prep or timing, not effort.
- Peeling and delamination. The most common one by far. The coating lifts off in sheets because the concrete was etched with acid instead of mechanically ground, so there was never a real bond profile for the resin to key into. It looks fine for a few weeks, then a corner catches and the whole thing comes up.
- Bubbling and pinholes. The slab was pushing moisture vapor and no moisture barrier went down, or the floor was coated in the heat of the afternoon. Air and vapor work up through the curing resin and leave a field of tiny craters that you cannot sand out.
- Soft or tacky spots that never cure. Two-part epoxy has to be mixed at the exact ratio and blended completely. Eyeball the mix or quit stirring early and you get spots where the chemistry never fully reacts. Those areas stay sticky forever and have to be ground out.
- Roller marks and lap lines. The installer missed the cure window. The resin started to set before the next pass blended in, so you get visible ridges and stripes locked into a floor that is now permanent.
- Flake that sheds or sits unsealed. Flake broadcast too late, or topcoat applied too thin, leaves decorative chips that lift off underfoot or a rough surface that grabs dirt and never wipes clean.
None of these are fixable with a touch-up. Every one of them means grinding the failed coating back off and starting over on a slab that is now harder to work than the bare concrete was.
The Prep Equipment a Kit Cannot Replace
A kit gives you resin, flake, and a bottle of etching acid. The actual gear that decides whether a floor holds is not in the box. A planetary diamond grinder with the right tooling for the slab hardness, a dust shroud and HEPA vacuum so you are not coating into a cloud of concrete dust, a calcium chloride or relative humidity moisture test, and the knowledge of which grind and which primer the specific concrete needs. Renting a grinder gets you one piece of that, and a rental machine in unpracticed hands often leaves swirl marks and uneven depth that telegraph through the finished floor. The equipment is a real cost and a real skill, and it is exactly the part the tutorials gloss over.
When a Pro Is Clearly Worth It
For a larger space, a commercial application, a specialty finish like metallic, or anywhere a failure would be a real headache to redo, hiring a professional pays for itself. The rule of thumb is simple. If the floor is visible, used every day, or functionally important to the space, that is a pro install. The cost of getting it right the first time is lower than the cost of getting it wrong and then getting it right.
A professional also brings the prep that decides everything. Diamond grinding, moisture testing, degreasing out old contamination, and the right system for your concrete are what make a floor hold for a decade instead of peeling in a year. None of that shows up in a kit’s instructions.
A Reasonable Middle Path
If you want to save some money and you have the time, there is a sensible hybrid. Some homeowners around Hollister handle the basic prep themselves, clearing the space, moving everything out, doing a first cleaning, then bring Gold Coast Resin in for the install. That trims contractor labor hours without putting the part that decides the outcome in untested hands. Johnny is happy to tell you exactly what you can knock out beforehand to keep costs down.
The line to hold is this. Do the parts where a mistake is cheap, and leave the parts where a mistake is expensive to the people with the equipment and the experience. Grinding, moisture testing, and the coats themselves are the expensive-mistake parts.
Already Have a Failed DIY Floor?
If you tried a kit and it peeled, you are in good company and it is fixable. Gold Coast Resin can assess what went wrong, prep the slab properly this time, and put down a system that holds. See real floors in the project gallery, read about the systems on the epoxy flooring service page, then call (650) 797-3040 or send a message. Johnny sees failed DIY jobs all the time and can give you a straight quote on doing it right.
Do It Once, Do It Right
Whether you are starting fresh or fixing a failed kit, Gold Coast Resin brings the equipment and the prep that make a floor last. Call for a free quote.
Call (650) 797-3040