DIY Floor Prep — Professional Foundation for Your Project
Every great floor coating begins with flawless preparation. Gold Coast Resin offers professional DIY floor prep services across Central California, giving homeowners and contractors the properly prepared surface they need for a coating that actually lasts.
JP Resin Certified·Don Resin Certified·160-Mile Radius
What Is DIY FLOOR PREP
DIY floor prep is the critical foundation stage that determines whether a floor coating succeeds or fails. The slab beneath every garage, basement, and workshop carries years of contamination, curing compounds, moisture, and structural imperfections that prevent coatings from bonding properly.
The preparation process involves mechanically profiling the slab using industrial diamond grinders that remove the top layer and open the pore structure. Most DIY coatings require a CSP of 2-3, which cannot be achieved with acid etching alone despite what many product labels suggest.
Beyond surface profiling, professional prep addresses hidden problems. Crack repair with structural epoxy, joint filling, moisture testing, and low spot leveling with self-leveling compound. These are the steps that separate a floor prep that lasts from one that fails.
PROCESS
Every professional prep job follows a precise four-stage process that gives your DIY coating the foundation it needs to bond permanently.
Assessment and Testing
Johnny inspects for existing coatings, sealers, oil stains, and structural damage. Moisture testing determines if vapor mitigation is needed. Every floor tells a different story.
Diamond Grinding
Industrial planetary grinders with diamond-segmented tooling create the specific CSP profile your coating manufacturer requires. Dust collection keeps the workspace clean.
Repair and Leveling
Cracks receive structural epoxy fill. Spalled areas and low spots are leveled with polymer-modified patching compound. The goal is a smooth, structurally sound canvas.
Final Profile and Handoff
The entire surface is verified to meet target CSP specification. The floor is vacuumed clean. Johnny provides guidance on primer selection, mixing ratios, and application conditions.
FLOOR PREP
The overwhelming majority of DIY coating failures trace back to inadequate surface preparation. The coating product itself is rarely the problem. The slab beneath it is.
Johnny understands exactly what your specific coating product needs from the slab beneath it. He has worked with epoxy, polyaspartic, polyurethane, urethane cement, and polished slab systems extensively enough to prepare your slab for optimum adhesion.
By hiring Gold Coast Resin for preparation alone, you get the professional foundation without the professional coating price. You maintain the satisfaction and cost savings of DIY while eliminating the single largest risk factor for failure.
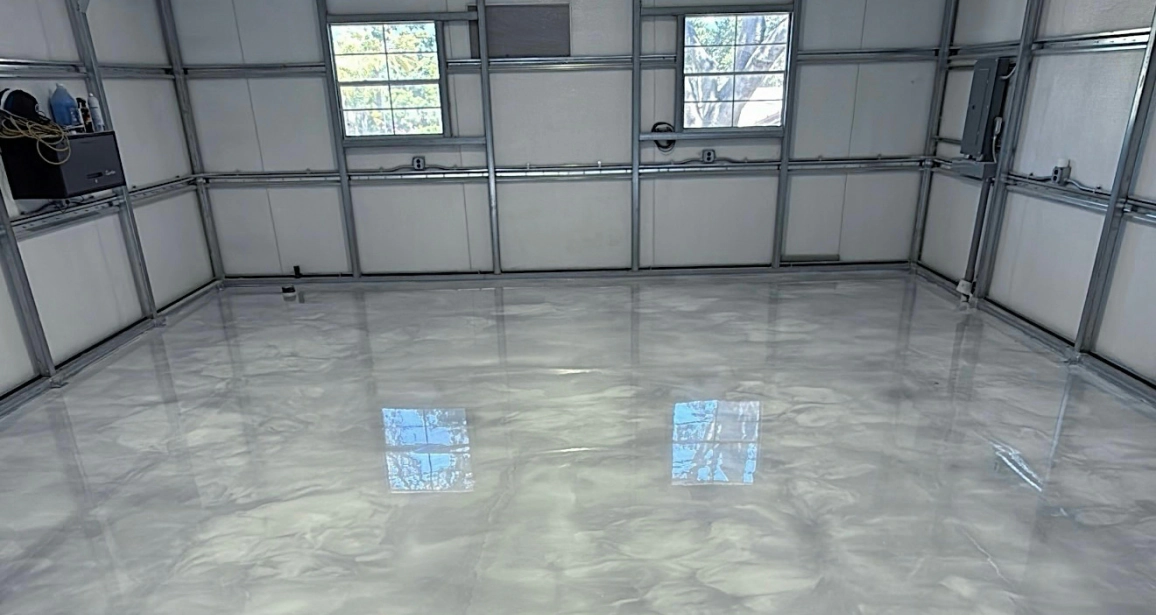
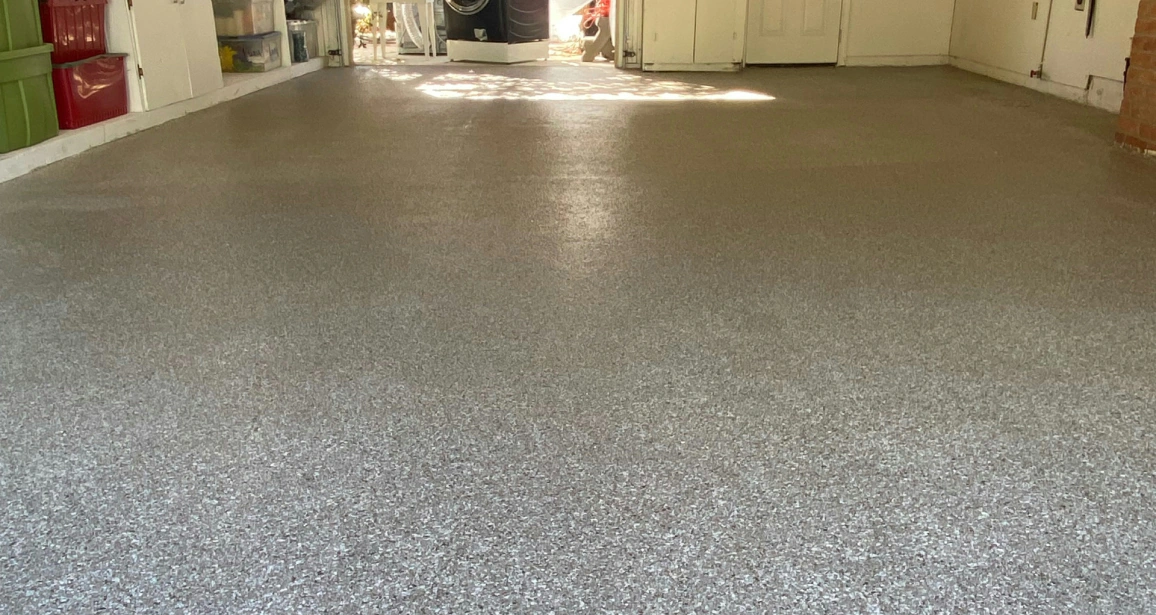
PROJECTS
Every prep job is tailored to the slab. Browse recent work and visit our full project gallery.
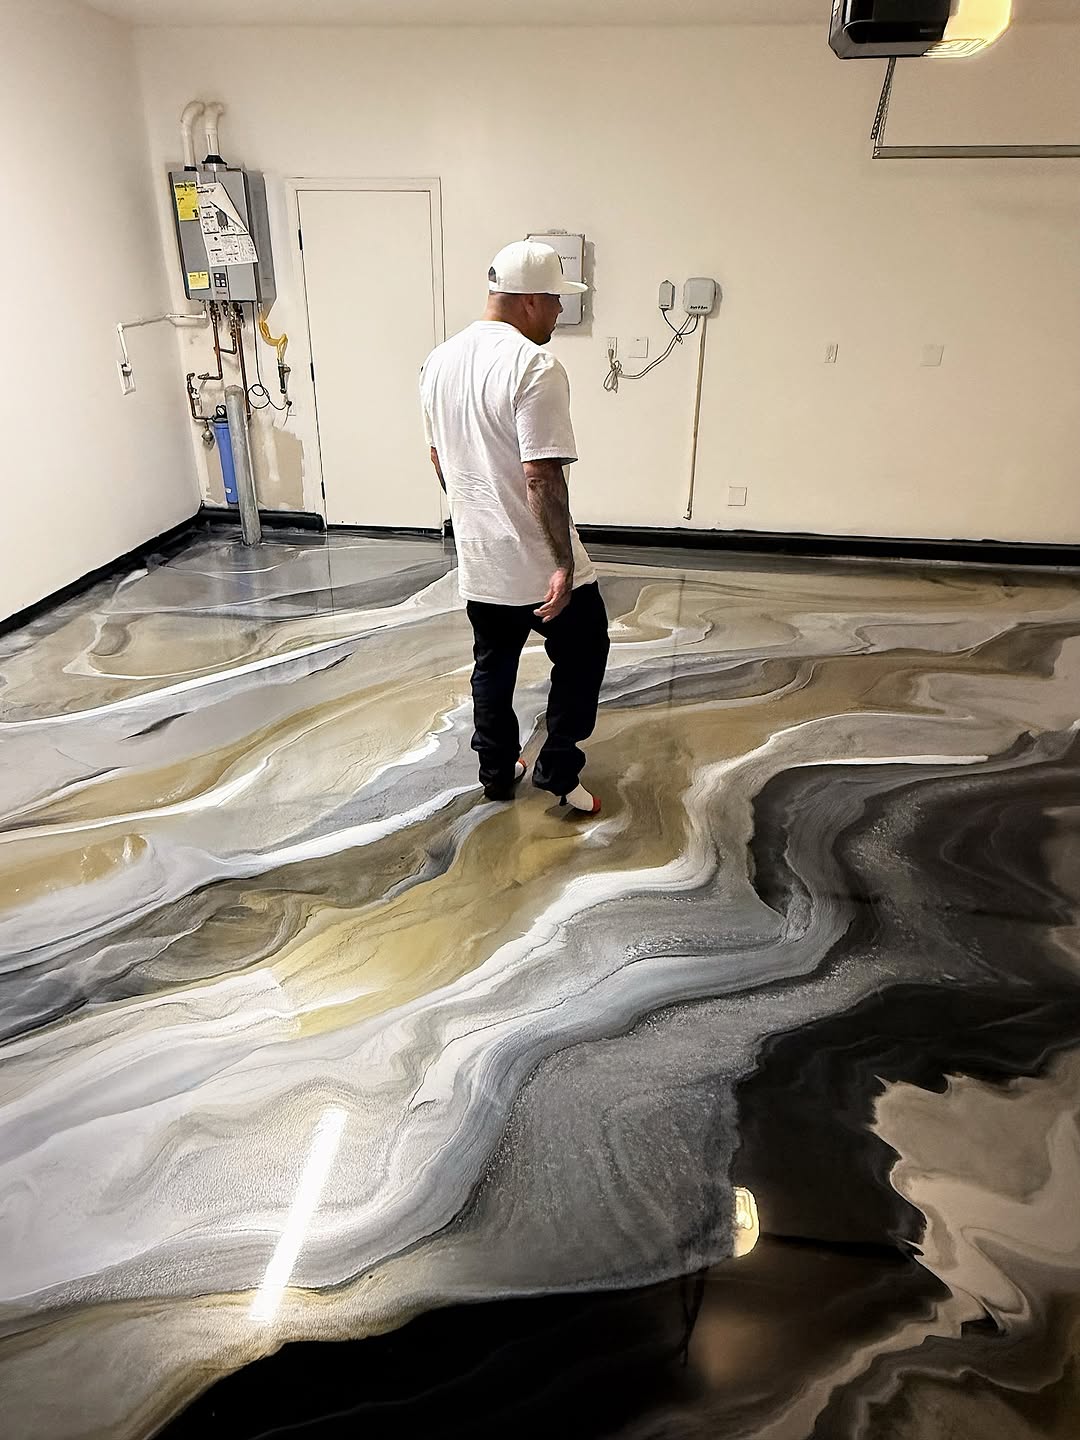
“I had already bought my epoxy kit when a friend told me to hire Johnny just for the prep. Best decision I made. The grinding took half a day and my epoxy went down perfectly. Four years later it still looks brand new. The prep made all the difference.”DIY Homeowner — Morgan Hill, CA
FAQ
PREP-READY
Ready to give your DIY coating project the professional foundation it deserves? Call Johnny for a free floor assessment and prep quote.