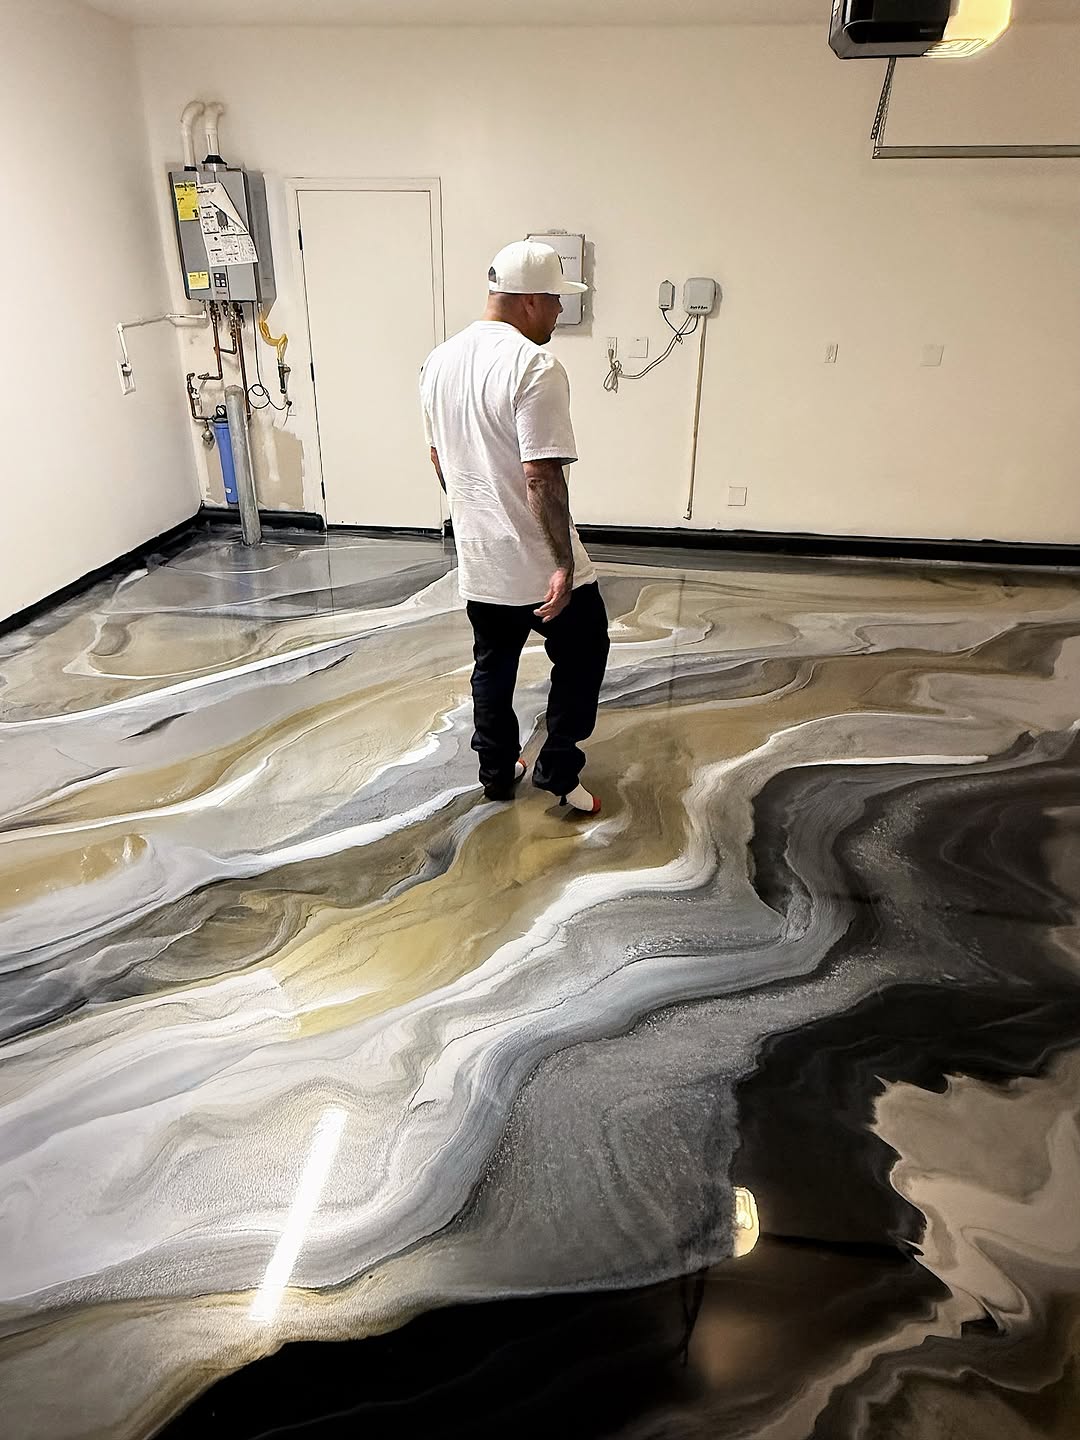
DIY Floor Prep, Professional Foundation for Your Project
Every great floor coating begins with flawless preparation. Gold Coast Resin offers professional DIY floor prep services across Central California, giving homeowners and contractors the properly prepared surface they need for a coating that actually lasts.
JP Resin Certified·Don Resin Certified·160-Mile Radius
What Is DIY FLOOR PREP
DIY floor prep is the critical foundation stage that determines whether a floor coating succeeds or fails. The slab beneath every garage, basement, and workshop carries years of contamination, curing compounds, moisture, and structural imperfections that prevent coatings from bonding properly.
The preparation process involves mechanically profiling the slab using industrial diamond grinders that remove the top layer and open the pore structure. Most DIY coatings require a CSP of 2-3, which cannot be achieved with acid etching alone despite what many product labels suggest.
Beyond surface profiling, professional prep addresses hidden problems. Crack repair with structural epoxy, joint filling, moisture testing, and low spot leveling with self-leveling compound. These are the steps that separate a floor prep that lasts from one that fails.
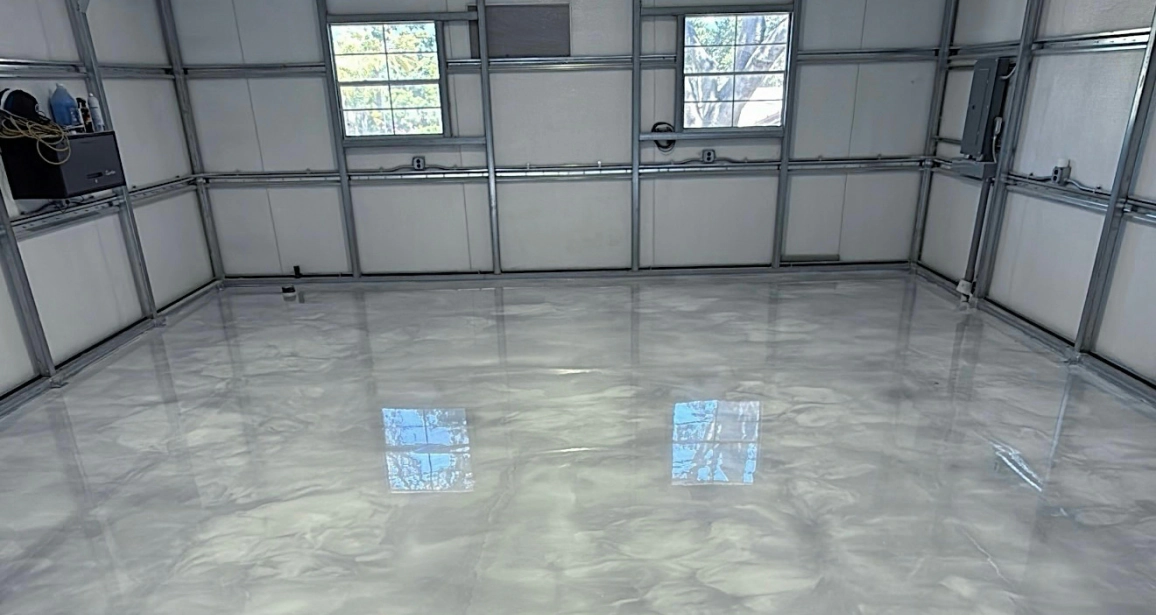
PROCESS
Every professional prep job follows a precise four-stage process that gives your DIY coating the foundation it needs to bond permanently.
Assessment and Testing
Johnny inspects for existing coatings, sealers, oil stains, and structural damage. Moisture testing determines if vapor mitigation is needed. Every floor tells a different story.
Diamond Grinding
Industrial planetary grinders with diamond-segmented tooling create the specific CSP profile your coating manufacturer requires. Dust collection keeps the workspace clean.
Repair and Leveling
Cracks receive structural epoxy fill. Spalled areas and low spots are leveled with polymer-modified patching compound. The goal is a smooth, structurally sound canvas.
Final Profile and Handoff
The entire surface is verified to meet target CSP specification. The floor is vacuumed clean. Johnny provides guidance on primer selection, mixing ratios, and application conditions.
FLOOR PREP
The overwhelming majority of DIY coating failures trace back to inadequate surface preparation. The coating product itself is rarely the problem. The slab beneath it is.
Johnny understands exactly what your specific coating product needs from the slab beneath it. He has worked with epoxy, polyaspartic, polyurethane, urethane cement, and polished slab systems extensively enough to prepare your slab for optimum adhesion.
By hiring Gold Coast Resin for preparation alone, you get the professional foundation without the professional coating price. You maintain the satisfaction and cost savings of DIY while eliminating the single largest risk factor for failure.
PROJECTS
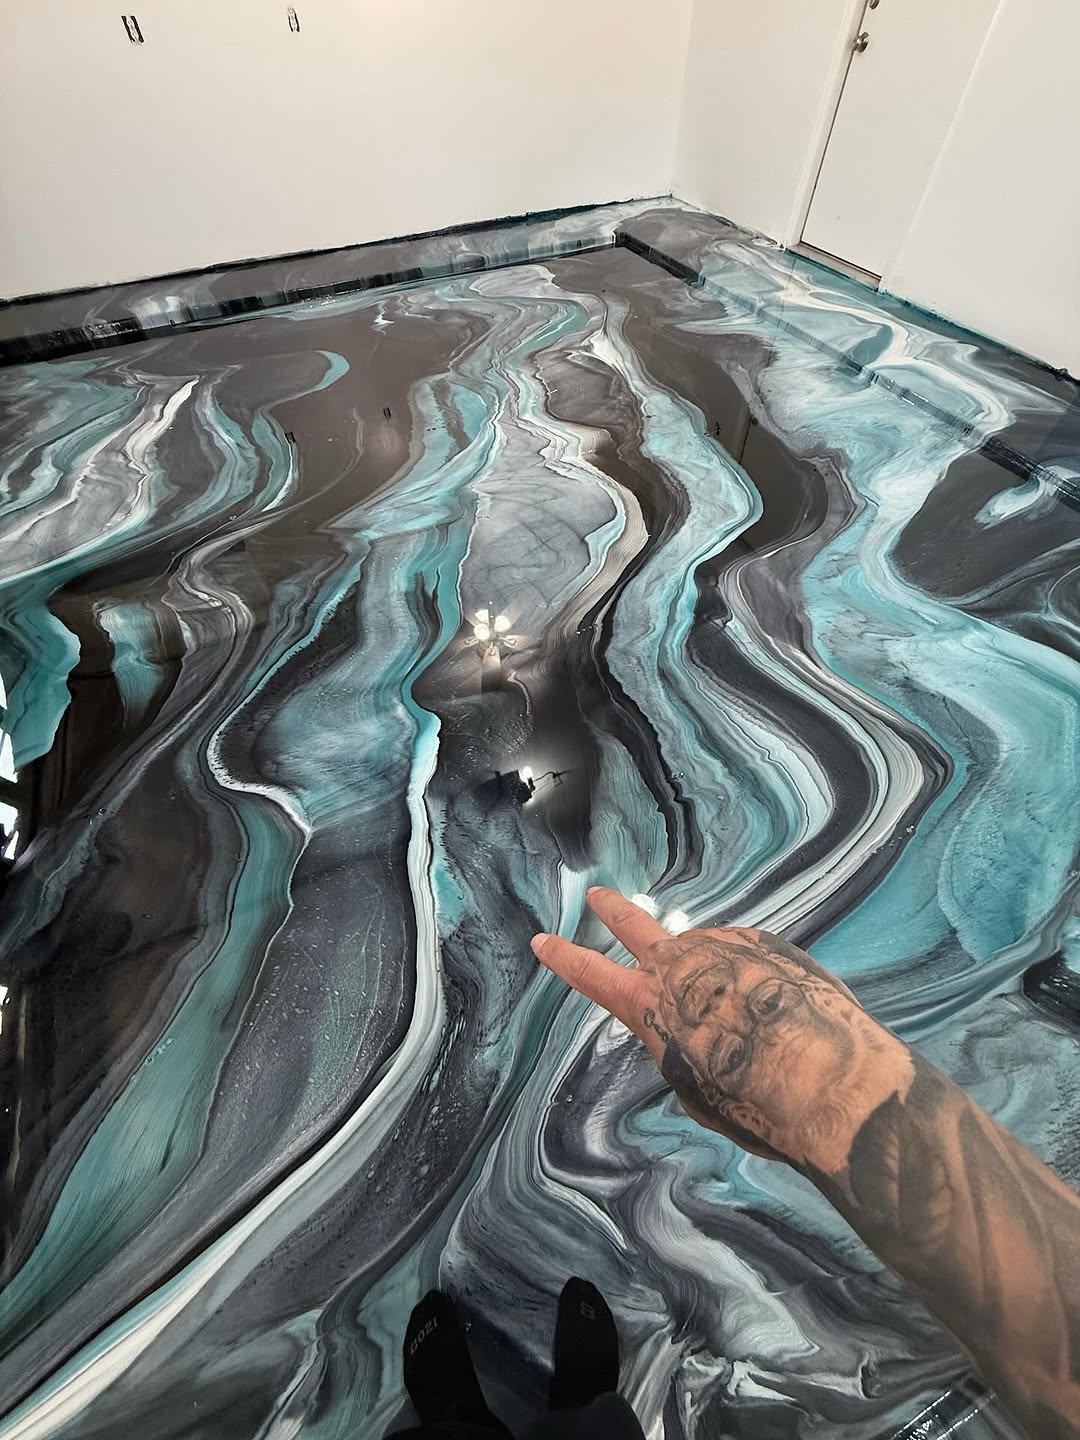
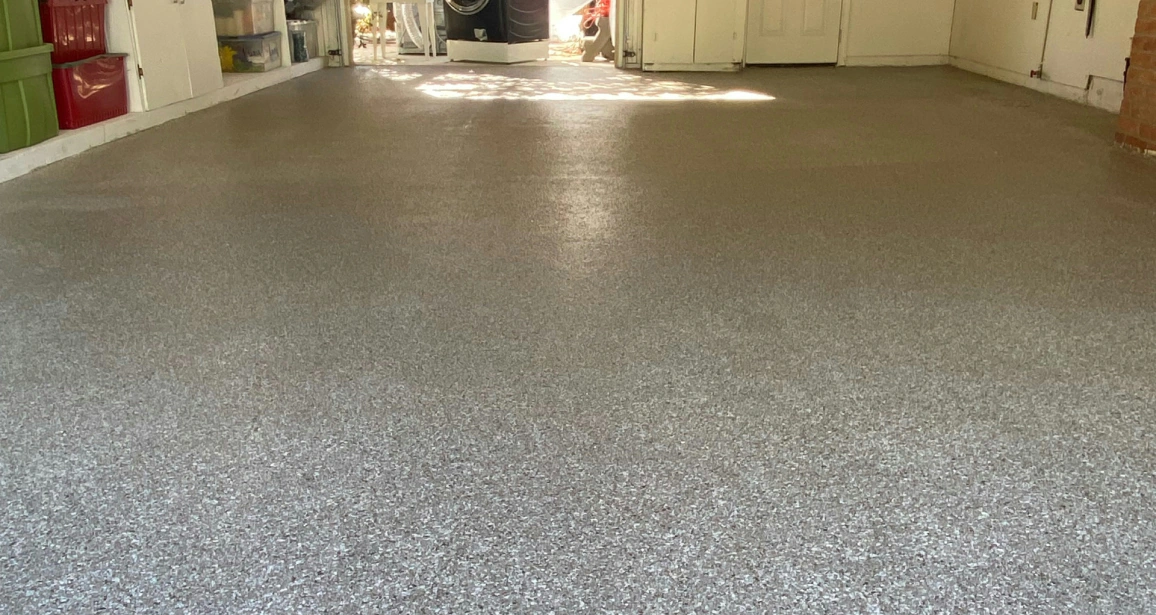
Every prep job is tailored to the slab. Browse recent work and visit our full project gallery.

“I had already bought my epoxy kit when a friend told me to hire Johnny just for the prep. Best decision I made. The grinding took half a day and my epoxy went down perfectly. Four years later it still looks brand new. The prep made all the difference.”DIY Homeowner, Morgan Hill, CA
What CSP actually means for the kit in your garage
Concrete Surface Profile is a number that describes how rough the slab is, and the coating you bought has a target. A thin roll-on epoxy usually wants CSP 1 to 2. A self-leveling build or a polyaspartic wants 2 to 3. A trowel-down system can want 3 or higher. Grind past the target and the slab drinks material, so a kit that was supposed to cover four hundred square feet covers two-eighty and you run short on the second coat. Grind short of it and the resin sits on a closed surface with nothing to hold. Johnny reads the manufacturer’s data sheet for your specific product and tools the floor to that number rather than to a generic setting.
Getting there takes two stages of tooling. Metal-bond diamonds cut hard and remove what is on the slab: old paint, cure-and-seal, a failed coating, the glue haze left behind when someone pulled up tile. Resin-bond tooling follows and refines the profile so it is uniform edge to edge instead of aggressive in the open floor and glazed along the walls where a hand grinder could not reach. That perimeter is where most self-done prep falls apart, because a five-inch edger in untrained hands leaves swirls and low rings that telegraph through a finished coat.
The problems the grinder finds
Grinding exposes what the slab has been hiding. Oil that soaked in years ago comes up as a dark blotch that keeps bleeding back after every pass, and it has to be degreased and reground until it stops. Cracks that looked like hairlines open into real gaps once the top layer is gone, and those get chased to sound material, routed into a V, and filled with a structural epoxy that carries load across the joint. Spalled concrete at a garage door threshold, where water has sat against the slab edge through a decade of winters, gets rebuilt with a polymer patch and reground flat.
Moisture is the one that ends projects. Concrete keeps releasing water vapor for months after it looks dry, and a slab poured without a vapor barrier will pass moisture indefinitely. Johnny puts relative humidity probes into the slab, waits the required hours, and reads real numbers. If the slab is wet, you get told before you open your kit, and you get told what a moisture-tolerant primer would cost you instead of finding out through a floor that blisters in month four.
- Profile tooled to your product’s published CSP target, not a generic setting
- Edges and perimeter ground to match the open floor
- Oil degreasing, structural crack routing, and threshold rebuilds
- In-slab relative humidity testing with the numbers handed to you
- Full HEPA dust collection so the space stays livable
What Johnny hands you at the end
When the grinder shuts off, the floor is vacuumed, tacked, and ready to coat. Johnny walks it with you and tells you exactly what he found, where the slab is strongest, where it took extra work, and anything that will affect how your product behaves. Then he gives you the practical guidance: the primer that suits your slab, the temperature range your resin wants, how far out the dew point needs to be before you pour, and roughly how long your working window will run on the day you have picked.
That last part matters more than most people expect. Resin is a chemical reaction on a clock, and the clock runs faster when it is hot. In a Central Valley garage in August you might have half the working time you would have in March, which changes whether you should be rolling or squeegeeing, and whether you need a second person. Johnny has poured enough floors in enough conditions to tell you straight. Coat within a day or two of the grind, while the profile is clean and open. Call (650) 797-3040 for a free look at the slab and a firm price on prep.
FAQ
PREP-READY
Ready to give your DIY coating project the professional foundation it deserves? Call Johnny for a free floor assessment and prep quote.